Disclosure: This post contains affiliate links. If you purchase through one of these links, we may earn a small commission at no extra cost to you. We only recommend products we believe can genuinely help solve the problem discussed in this article.
Disclaimer: This article is for informational purposes only. Product details and recommendations may change. For pet health concerns, consult a qualified veterinarian.
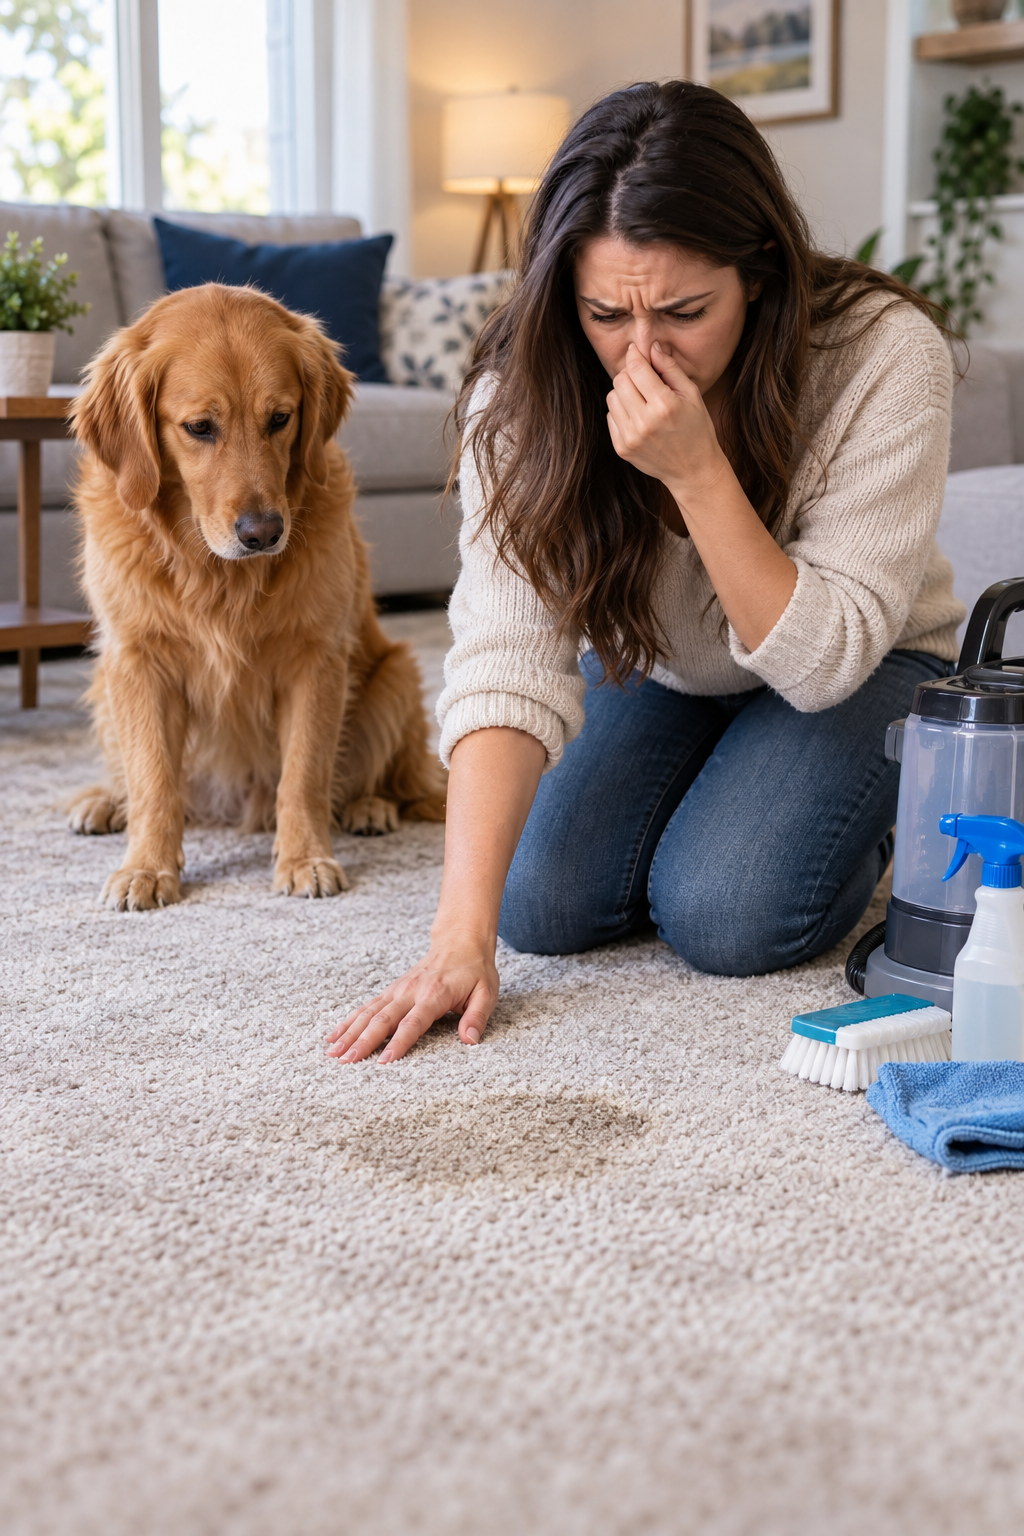
If you’re reading this with your nose wrinkled and a candle burning in every room, you already know the problem: fresh dog pee is annoying, but dried dog urine smell in carpet is a nightmare. It comes back on humid days. It gets worse when you walk over the spot. And no amount of air freshener seems to fix it permanently.
The good news? Dried urine stains are completely fixable — you just need the right approach, because regular carpet shampoo or “spray and blot” tricks that work on fresh accidents simply don’t cut it once urine has dried into the carpet fibers and padding.
In this guide, you’ll learn exactly why dried dog urine smells so stubborn, how to find every hidden stain in your house (even ones you can’t see), and the step-by-step cleaning methods that professionals and veterinarians actually recommend. We’ll also cover the tools that make this job 10x easier, so you’re not stuck scrubbing on your hands and knees for hours.
Let’s get your home smelling fresh again.
Why Dried Dog Urine Smells So Much Worse Than Fresh Urine
Before jumping into solutions, it helps to understand what you’re actually dealing with.
When urine is fresh, it’s mostly liquid — urea, water, and some bacteria. At this stage, it’s relatively easy to clean because it hasn’t fully bonded with the carpet fibers yet.
But once urine dries, something changes chemically:
- Uric acid crystals form. As urine dries, it leaves behind uric acid crystals that bond tightly to carpet fibers and even seep into the padding and subfloor underneath.
- Crystals are not water-soluble. Regular water, vinegar, or soap can’t dissolve these crystals — they can only mask the smell temporarily.
- Humidity reactivates the smell. On humid or rainy days, these crystals absorb moisture from the air and release ammonia gas again, which is why the smell “comes back” out of nowhere.
- Bacteria continues to multiply in the padding, which is often the real source of the lingering odor — not the visible carpet surface at all.
This is why so many people say, “I’ve cleaned this spot ten times and it still smells.” You weren’t cleaning wrong — you just weren’t using something capable of breaking down uric acid crystals. That’s the key to solving this problem for good.
Step 1: Find Every Hidden Urine Stain (Even Ones You Can’t See)
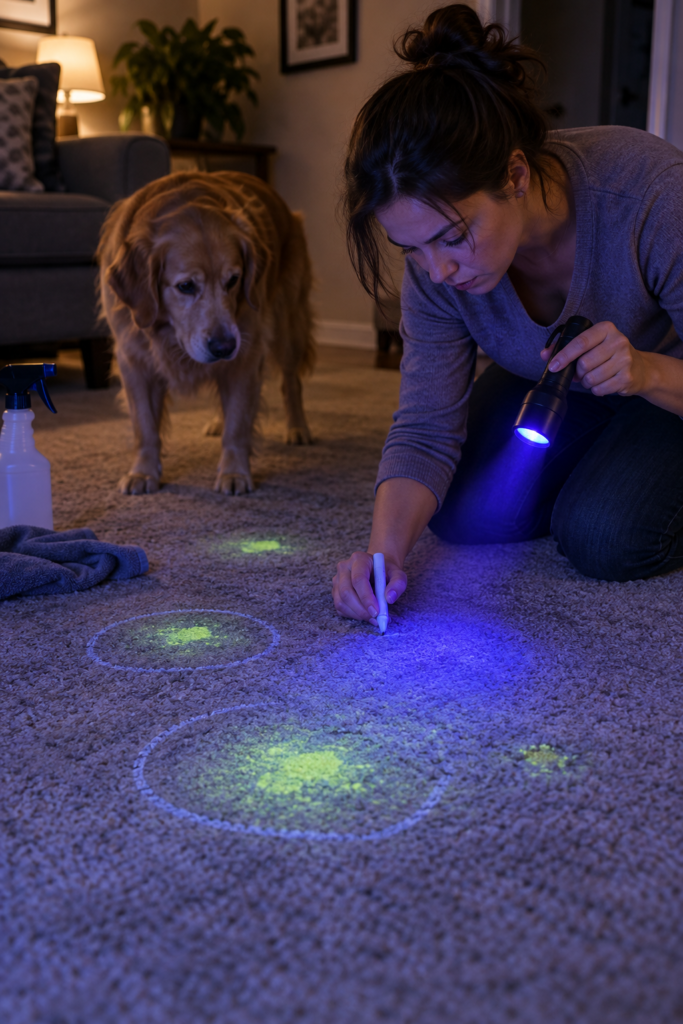
Dogs often return to the same general area to relieve themselves, and old stains aren’t always visible to the naked eye — especially on patterned or dark carpets. Before you clean anything, you need to locate every affected spot, or the smell will keep returning from a stain you missed.
Use a UV Blacklight Flashlight
Dried urine glows under ultraviolet light, making it easy to spot even in daylight if you dim the room. This is the single most useful $15–$20 tool for this entire project.
👉 UV Blacklight Flashlight for Pet Stains – Check Price on Amazon
https://link.amazon/B03SORimh
How to use it:
- Turn off the lights and close curtains/blinds
- Slowly scan the carpet with the UV light a few inches above the surface
- Mark glowing spots with sticky notes, painter’s tape, or chalk
- Repeat in every room your dog has access to
Pro tip: Old stains sometimes glow yellow-green, while newer ones may appear more blue-white. Either way, mark it.
Step 2: Gather Your Cleaning Supplies
Here’s everything you’ll want on hand before starting. Having the right tools makes this a 20-minute job instead of an all-day battle.
- Enzymatic pet odor eliminator (this is non-negotiable — see below)
- UV flashlight (mentioned above)
- Clean white cloths or paper towels
- A spray bottle
- Baking soda
- White vinegar (optional, for a DIY pre-treatment)
- Hydrogen peroxide 3% (for tougher/older stains)
- A wet/dry shop vacuum or carpet extractor
- Rubber gloves
- A dedicated pet stain and odor spray for touch-ups
👉 Enzymatic Pet Stain & Odor Remover – Check Price on Amazon
https://link.amazon/B0jaapiD7
Step 3: Why Enzyme Cleaners Are the Only Real Solution
This is the most important section of the entire guide, so pay close attention.
Regular cleaning products — dish soap, vinegar, carpet shampoo, even bleach — do not break down uric acid crystals. They can lift surface stains and mask smell temporarily, but the crystals remain embedded in the fibers and padding, ready to reactivate with humidity.
Enzymatic cleaners work differently. They contain live bacterial cultures or enzymes (like protease and urease) that biologically digest the uric acid crystals, breaking them down into odorless compounds. This is the same category of product veterinarians and professional carpet cleaners recommend for pet accidents.
👉 Best-Selling Enzyme Cleaner for Old Pet Stains – Check Price on Amazon
https://link.amazon/B0ijx4Z0K
What to Look For in an Enzyme Cleaner
- Labeled specifically for “urine” or “uric acid,” not just general odor
- Contains live enzyme cultures (check the label)
- Safe for the type of carpet fiber you have (most are safe for synthetic carpets; wool needs a gentler formula)
- No added strong fragrance that just masks smell instead of removing it
Step 4: The Complete Cleaning Process for Dried Urine Stains
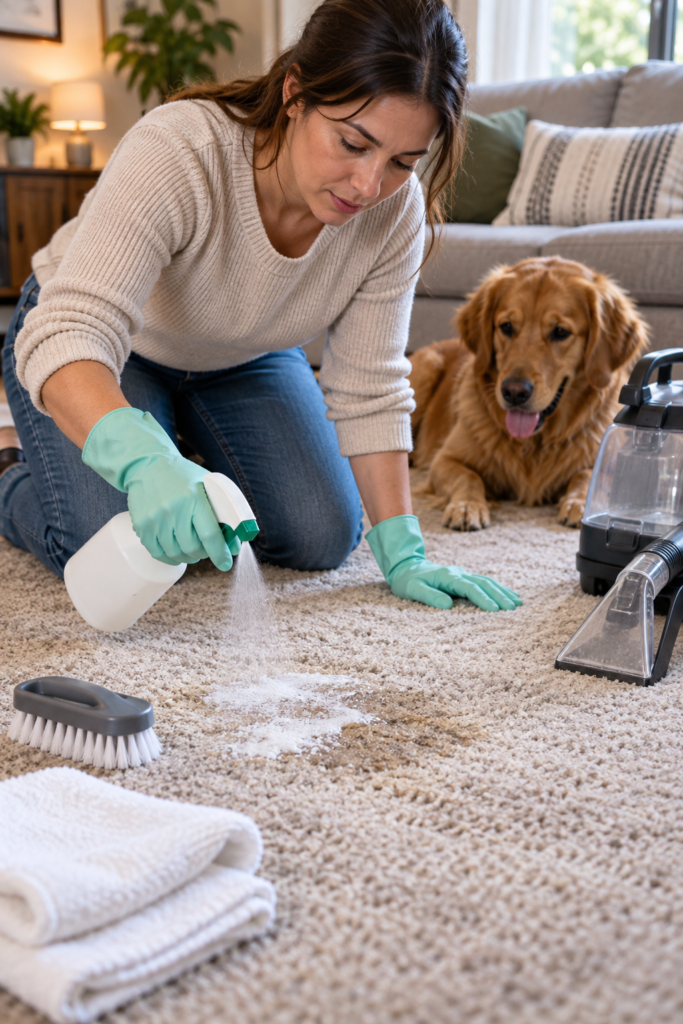
Now let’s walk through the actual cleaning steps.
Step 4.1 — Vacuum the Area First
Remove any loose dirt or debris so the cleaner can penetrate directly into the fibers.
Step 4.2 — Rehydrate the Stain
This might sound counterintuitive, but dried stains need to be rehydrated before an enzyme cleaner can work effectively, because enzymes need moisture to activate and travel down into the padding where the real smell often lives.
- Lightly dampen the stained area with plain water using a spray bottle
- Let it sit for 5–10 minutes so it softens the crystals
Step 4.3 — Apply the Enzyme Cleaner Generously
This is not a “light misting” situation. You need to saturate the area enough that the cleaner reaches the padding underneath, since that’s often where old urine has traveled.
- Pour or spray enough enzyme cleaner to match the size of the original stain (if the stain soaked through to the pad, the cleaner needs to reach that deep too)
- Gently work it into the fibers with a soft brush or your gloved fingers
- Cover the area with a plastic bag or plastic wrap to slow evaporation
- Let it sit for at least 6–12 hours (overnight is ideal) — enzymes need time to fully digest the crystals
Step 4.4 — Blot, Don’t Scrub
After the sitting period, blot the area with clean white towels. Scrubbing can push the stain deeper and damage carpet fibers, while blotting lifts moisture and residue out.
Step 4.5 — Extract Excess Moisture
If you have a wet/dry shop vac or a carpet extractor, use it now to pull out as much moisture as possible. This step matters more than people realize — leftover dampness in the padding can lead to mold or mildew smell, which is a whole separate problem.
Step 4.6 — Let It Dry Completely
Point a fan at the area or open a window. Full drying can take 12–24 hours. Avoid walking on the spot or letting pets near it until it’s dry.
Step 5: For Really Stubborn or Old Stains
If the smell persists after one round of enzyme treatment (common with stains that are months or years old, or if urine has soaked deep into the padding), try this two-part method.
The Baking Soda + Hydrogen Peroxide Method
- Sprinkle a generous layer of baking soda over the dry, cleaned stain and let it sit for a few hours (baking soda absorbs odor and moisture).
- Mix a solution of 1 cup of 3% hydrogen peroxide with a few drops of dish soap in a spray bottle.
- Lightly mist this mixture over the baking soda (don’t oversaturate).
- Gently work it in with a soft brush, then let it dry completely — this can take several hours.
- Vacuum up the dried residue once fully dry.
Important safety note: Always test hydrogen peroxide on a hidden corner of carpet first, as it can lighten some carpet colors. Never mix hydrogen peroxide with vinegar or ammonia-based products, as this can create harmful fumes.
Step 6: When the Padding or Subfloor Is Affected
If a dog has urinated in the same spot repeatedly over time, or if the smell returns strongly every time it rains or gets humid, the urine has likely soaked through to the carpet padding or even the subfloor. In these cases, surface cleaning alone won’t solve the problem — you may need to:
- Pull back the carpet in that section to inspect the padding
- Replace the affected padding (padding is inexpensive and much easier to replace than carpet)
- Treat and seal the subfloor with an odor-blocking primer if wood or concrete has absorbed urine
- Use a carpet cleaning machine with a deep-extraction setting to force enzyme cleaner further down
👉 Deep Carpet & Upholstery Extractor Machine – Check Price on Amazon
https://link.amazon/B08MOcQhf
If you’re not comfortable pulling up carpet yourself, this is a good point to call in a professional carpet cleaning service that specializes in pet odor removal — many use industrial-strength enzyme treatments and subfloor sealants that go beyond what’s available for home use.
Step 7: Preventing Future Accidents in the Same Spot
Dogs are drawn back to spots where they’ve previously gone to the bathroom because they can still detect trace odors, even after you can’t smell anything. A few tips to break the cycle:
- After cleaning, use a specific “stain and odor” spray formulated to also act as a repellent in high-risk areas
- Consider a washable, waterproof carpet protector pad in problem zones while retraining
- Keep your dog on a consistent bathroom schedule, especially for senior dogs or puppies still learning
- If accidents are becoming frequent or sudden, consider a vet visit, since increased urination can sometimes signal a urinary tract infection or other medical issue
Step 8: Improving Overall Air Quality (Bonus Tip)
Even after a thorough clean, homes with pets can benefit from ongoing odor control. A good air purifier with activated carbon filtration helps continuously absorb ammonia and other pet-related odors from the air, especially in homes with carpet throughout.
👉 Air Purifier with Activated Carbon Filter for Pet Odor – Check Price on Amazon
https://link.amazon/B0cRbqFwC
Frequently Asked Questions
Does vinegar remove dried dog urine smell?
Vinegar can help neutralize odor temporarily and is a decent first step for fresh stains, but it does not break down uric acid crystals in dried, set-in stains. For dried stains, an enzymatic cleaner is essential.
How long does it take to get rid of dried urine smell?
With a proper enzyme treatment, most stains improve significantly within 24–48 hours, though it can take a couple of cleaning cycles for very old or large stains to fully clear.
Why does the smell come back when it rains?
Humidity reactivates leftover uric acid crystals that weren’t fully broken down. This almost always means enzyme treatment is needed, not just surface cleaning.
Can I just use a steam cleaner instead of enzyme cleaner?
Heat can actually set the stain permanently by causing the proteins in urine to bond more tightly to carpet fibers. Always treat with an enzyme cleaner first, and only use cool or room-temperature water when extracting.
Is it safe to use enzyme cleaners around pets and kids?
Most enzyme-based pet cleaners are non-toxic once dry, but always check the specific product label and keep pets and children away from the area while it’s wet and during the drying period.
Final Thoughts
Dried dog urine smell can feel impossible to get rid of, but it almost always comes down to one missing step: using a proper enzymatic cleaner that actually breaks down uric acid crystals instead of just masking the odor. Combine that with a UV flashlight to find every hidden stain, patience during the soak time, and proper drying, and you can get your carpet — and your whole home — smelling clean again.
If the smell keeps returning after a full treatment, don’t get discouraged. It usually just means the padding underneath needs attention too. With the right tools and a little persistence, this is a completely solvable problem.