
Affiliate Disclosure: This post contains affiliate links. If you click through and make a purchase, we may earn a small commission at no extra cost to you. We only recommend products we genuinely believe can help you and your cat. Thank you for supporting this blog.
Disclaimer: This article is for informational and educational purposes only and is not a substitute for professional veterinary advice. Every cat and living space is different, so always assess your own balcony’s safety and consult a professional (contractor, landlord, or vet) before building any enclosure. We are not responsible for any injury, property damage, or pet escape resulting from the use of this guide.
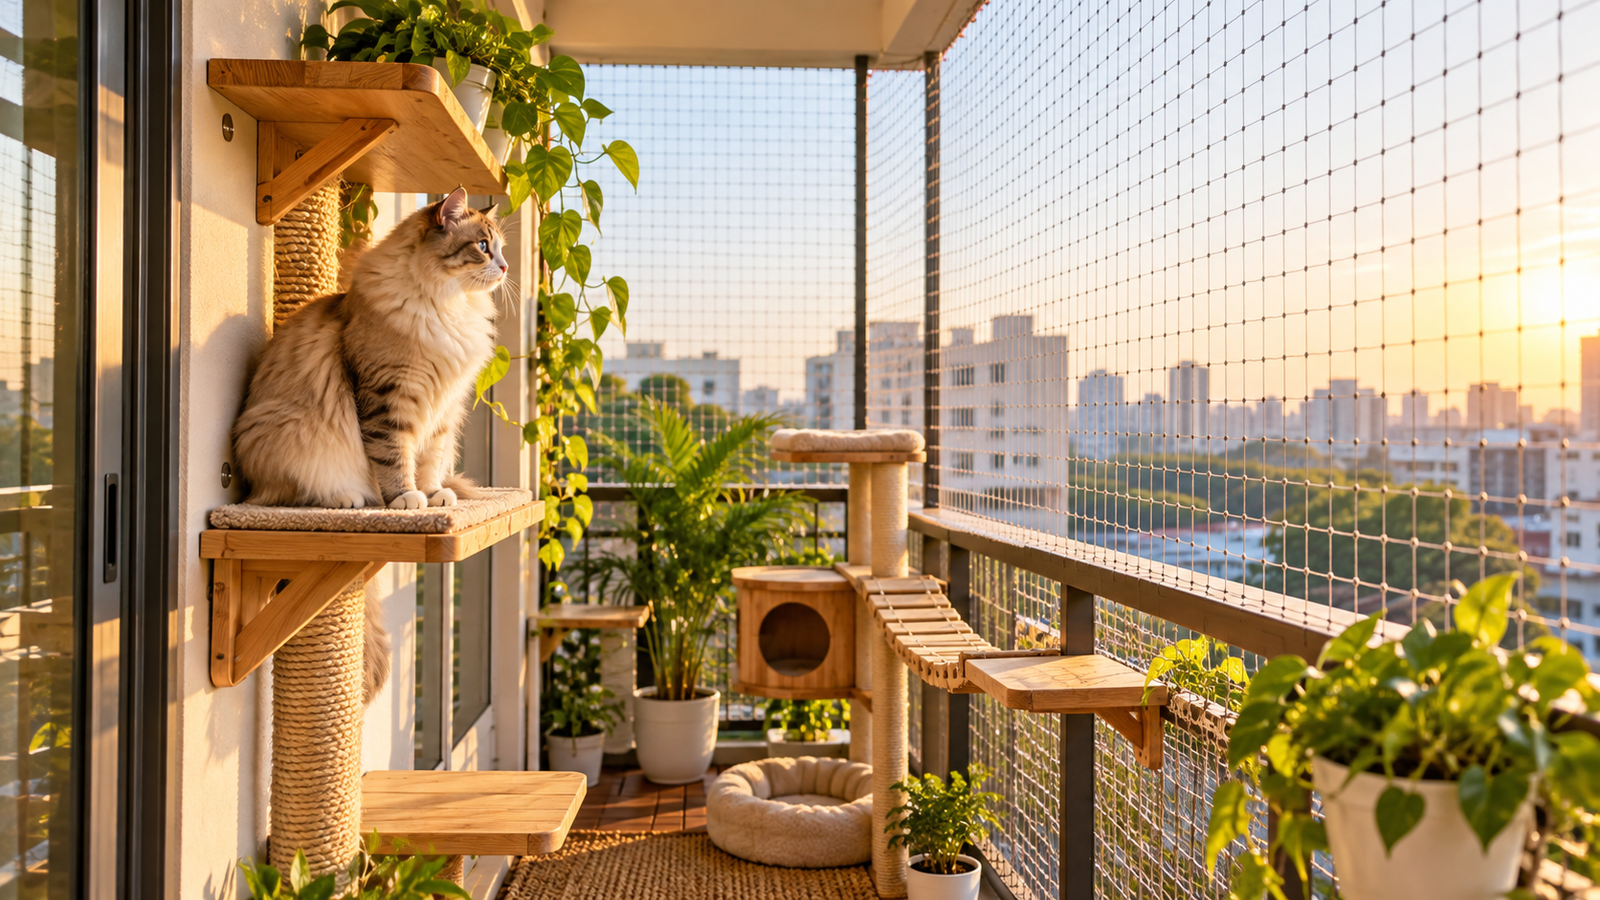
If you live in an apartment or a home with a small balcony, you’ve probably wished there was a safe way to let your indoor cat enjoy fresh air without worrying about falls, escapes, or predators. That’s exactly what a balcony catio solves. It’s one of the fastest-growing pet lifestyle trends, and the good news is you don’t need a huge budget or a backyard to build one.
In this guide, you’ll learn exactly how to build a DIY balcony catio step by step, what materials you need, how much it costs, and how to keep your cat safe and happy — even on a tight budget.
What Is a Catio?
A catio (short for “cat” + “patio”) is an enclosed outdoor space that lets cats experience sunlight, fresh air, and the sights and sounds of the outdoors, all while staying protected from traffic, predators, and the risk of getting lost. Traditional catios are built in backyards, but a balcony catio is a compact version designed specifically for apartments, condos, and small homes.
Think of it as a secure, screened-in extension of your living space — just for your cat.
Why Build a Balcony Catio?
Cats are naturally curious animals, and being fully indoors all the time can lead to boredom, weight gain, and stress-related behaviors like excessive meowing or scratching furniture. A balcony catio gives your cat:
- Mental stimulation from watching birds, insects, and the outside world
- Fresh air and natural sunlight, which supports healthy sleep cycles
- A safe outdoor experience without the dangers of free-roaming (cars, other animals, disease, or getting lost)
- More exercise space, especially useful for indoor cats who don’t get much movement
- Reduced anxiety and destructive behavior, since they have an outlet for their energy
For apartment dwellers, this is often the only realistic way to give a cat outdoor access — and it works surprisingly well even in small spaces.
Is It Safe? Things to Check Before You Start
Before you grab any tools, go through this safety checklist:
- Check your lease or HOA rules. Some buildings restrict balcony modifications. A catio that doesn’t require drilling into the building structure (using tension rods or weighted frames) is usually safe from lease violations, but always double-check.
- Measure your balcony’s weight limits. Avoid heavy materials if your balcony has a low load capacity.
- Check for gaps. Cats can squeeze through surprisingly small spaces — anything wider than 3 inches (about 7-8 cm) needs to be covered.
- Avoid toxic plants. If you plan to decorate the catio with plants, make sure none of them are toxic to cats (examples: lilies, pothos, and aloe vera are all unsafe).
- Weatherproof everything. Materials should handle sun, rain, and wind without breaking down quickly.
Once you’ve confirmed your balcony is a safe candidate, you’re ready to start building.
Materials You’ll Need (Budget-Friendly List)
You don’t need to spend a fortune. Most balcony catios can be built for well under $150–$200, depending on the size of your balcony and how many accessories you add.
Basic structural materials:
- Cat-proof mesh netting or hardware cloth (heavy-duty, weatherproof)
- Tension rods or a lightweight wooden/PVC frame
- Zip ties or cable clips (for securing mesh without drilling)
- Outdoor-rated screws (only if drilling is allowed)
- Weatherproof sealant (optional, for wood frames)
Recommended starter product: if you want a reliable, pre-cut cat enclosure mesh that’s already weatherproof and chew-resistant, this is a good budget option to check out: Heavy-Duty Cat Enclosure Netting–https://link.amazon/B06Dk589w
Comfort and enrichment items:
- A weatherproof cat bed or hammock
- A small scratching post
- Window perches or wall-mounted shelves for vertical space
- A shallow, spill-proof water bowl
- Shade cloth or a small umbrella for hot climates
Recommended enrichment product: a wall-mounted cat shelf is one of the best ways to add vertical space without taking up floor room — especially useful for small balconies. Wall-Mounted Cat Shelf Set-https://link.amazon/B011vY7cz
You can find both of these types of products on most major pet supply retailers or Amazon — just make sure whatever you choose is labeled “outdoor safe” or “weatherproof.”
Step-by-Step Guide: How to Build a Balcony Catio
Step 1: Measure Your Balcony
Start by measuring the width, depth, and height of your balcony space. Write down the measurements of any railings, gaps, or openings you’ll need to cover. This helps you buy the right amount of mesh and frame material without overspending or running short.
Step 2: Choose a No-Drill or Low-Drill Method
If you’re renting, tension rod systems are your best friend. These work like a shower curtain rod — they expand to fit tightly between the floor and ceiling or between two walls, and you can attach mesh netting to them using clips or zip ties. This means zero drilling and zero damage to the building structure.
If you own your home or your building allows it, you can build a simple wooden or PVC frame instead, which tends to be sturdier for larger balconies.
Step 3: Install the Frame
- If using tension rods: position them vertically at each corner of your balcony opening, then adjust until snug.
- If using a wood/PVC frame: build a simple rectangular frame that fits your balcony’s opening and secure it according to your building’s rules.
Step 4: Attach the Mesh Netting
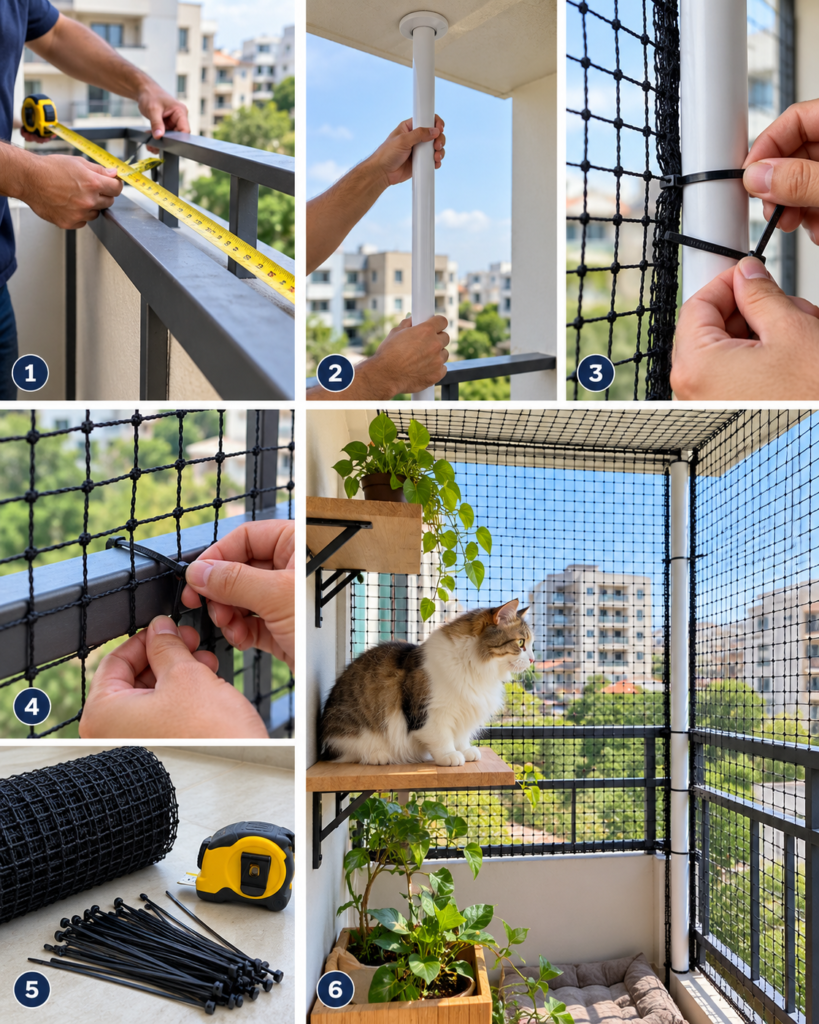
Wrap the mesh netting around the frame, covering every gap, especially around railings. Use zip ties every 4–6 inches to keep it tight and prevent sagging. Double-check there are no loose corners a curious cat could push through.
Step 5: Add a Secure Access Point
Decide how your cat will get in and out of the catio. Common options include:
- A cat door installed in a window that leads directly to the balcony
- A tunnel or mesh “bridge” connecting an indoor window to the balcony catio
- Simply leaving the balcony door open while supervising, with the catio fully enclosed
Step 6: Furnish the Space
Once the structure is secure, it’s time to make it comfortable:
- Add a soft bed or hammock in a shaded spot
- Install a shelf or two for climbing and lounging
- Place a scratching post to protect your railings and give your cat something to claim as their own
- Add a small, shallow water dish (refresh it daily)
Step 7: Do a Trial Run
Before leaving your cat unsupervised, sit outside with them for 15–30 minutes. Watch how they react, check for any weak points in the enclosure, and make sure nothing wobbles or gives way under their weight or scratching.
Step 8: Weatherproof and Maintain
Check the netting and frame every couple of weeks for wear, especially after storms or heavy wind. Replace any torn mesh immediately, since even a small hole can become an escape route.
Budget Breakdown: How Much Does a Balcony Catio Cost?
Here’s a rough estimate to help you plan:
| Item | Estimated Cost (USD) |
|---|---|
| Cat-proof mesh netting | $30–$60 |
| Tension rods or frame materials | $20–$50 |
| Zip ties/clips | $5–$10 |
| Cat bed or hammock | $15–$30 |
| Wall-mounted shelf | $20–$40 |
| Scratching post | $15–$25 |
| Total estimated cost | $105–$215 |
Compare that to pre-built catio kits, which often start at $300 and go up from there — building your own on a balcony is usually the most affordable way to give your cat outdoor access.
Balcony Catio Ideas for Different Space Types
Narrow balconies: Focus on vertical space. Wall-mounted shelves and a single hammock work better than floor furniture.
Wide balconies: You have room for a small cat tree, a designated lounging area, and even a shaded reading nook for yourself.
Balconies with railings: Cover the railing gaps completely with mesh, since these are the most common escape points.
Balconies without railings (rare, but possible in some buildings): You’ll need a full floor-to-ceiling enclosure — safety here is non-negotiable.
Common Mistakes to Avoid
- Using regular window screen material — it’s too weak and cats can tear through it easily. Always use heavy-duty, cat-specific mesh.
- Leaving gaps near the door frame — this is the most overlooked escape point.
- Skipping shade — direct sun for hours can overheat your cat, especially in summer.
- Forgetting water access — always keep fresh water available in the catio.
- Not checking local weather resistance — if you live somewhere with heavy wind or snow, reinforce your frame accordingly.
Frequently Asked Questions
Do I need my landlord’s permission to build a balcony catio? It depends on your lease. No-drill methods like tension rods are usually safe, but it’s always worth a quick check with your landlord or HOA to avoid any issues.
How long does it take to build a balcony catio? Most small balcony catios can be built in a single weekend, sometimes in just a few hours if you’re using a no-drill tension rod system.
Can I leave my cat alone in the catio? Once you’ve tested the enclosure for weak points and confirmed it’s fully secure, most cats can be left safely in a well-built catio for several hours. Still, it’s a good idea to check in periodically, especially in extreme weather.
What’s the cheapest way to build a catio? Using tension rods with heavy-duty mesh netting is typically the most budget-friendly method, since it avoids the cost of building a full wooden frame.
Is a balcony catio safe in winter or extreme heat? Yes, as long as you provide shade in summer and a way to bring your cat inside during extreme cold or storms. Balcony catios work best as a supervised or seasonal feature in harsh climates.
Final Thoughts
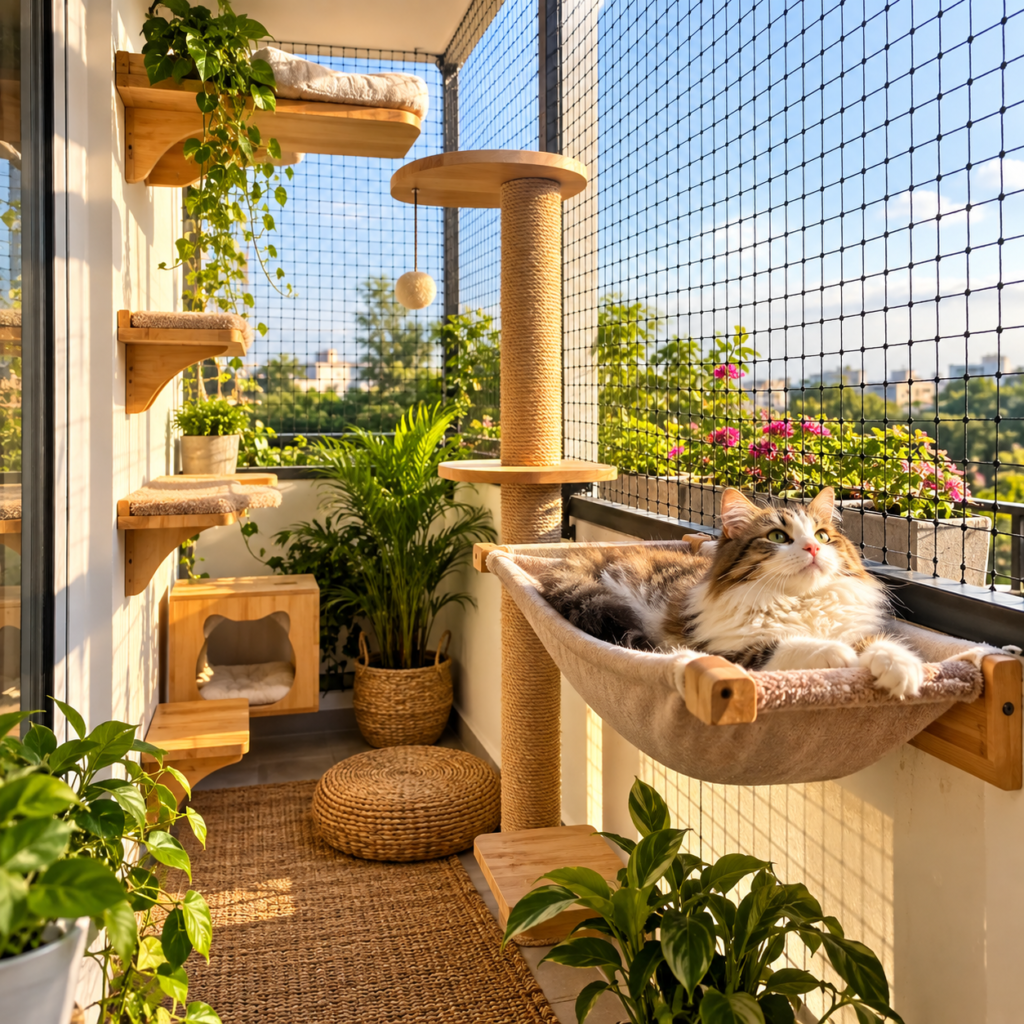
A DIY balcony catio is one of the best budget-friendly upgrades you can make for an indoor cat, especially if you live in an apartment without a backyard. With just a bit of planning, some affordable materials, and a weekend of work, you can give your cat a safe outdoor space to explore, relax, and soak up the sun — without ever worrying about them wandering off.
Start small, prioritize safety over aesthetics at first, and add furnishings as your budget allows. Your cat (and your railings) will thank you.